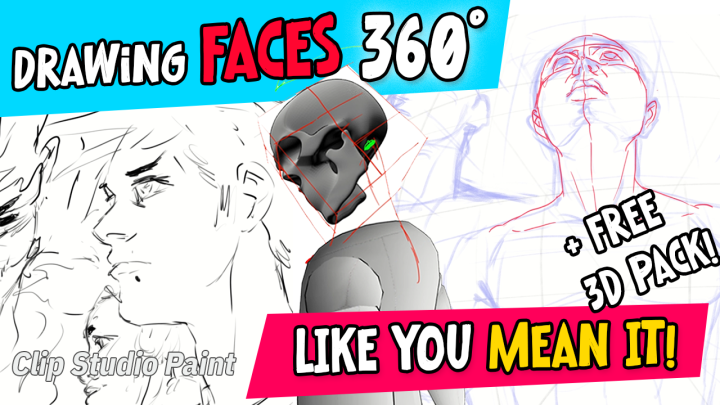
Drawing Faces 360 – like you mean it! Tutorial and Technical Breakdown

I’ve created a Tutorial on how to draw faces from different angles in Clip Studio Paint.
So wether you are making illustrations with pen and paper or draw webtoons digitally this tutorial might be for you!
Clip Studio Paint (hereinafter called CSP) is arguably the industry leading software for creating digital comics and illustrations. It’s featureset is catered especially towards webtoon and manga artists so beside the main drawing tools of an art software we also get some sets of rulers (perspective ruler, curve ruler etc.), speech bubbles, frames and posable 3d models.
Because I wanted to have a 3d model that is not bound to any style I decided to implement my own simplified skull head and a simplified mannequin into CSP.

In this post I’ll outline the process on bringing custom 3d models into CSP.
If you are interested in learning the drawing techniques check out the tutorial itself or the video.
Please don’t forget to leave a comment if you have any questions left or to share your thoughts on this blogpost.
The Video Tutorial
Preparing 3D Models for Clip Studio Paint in Blender
For the readers of Blog.Project-Insanity.org I want to give a quick overview of the technical process behind this.
I’ve created a head model and a rigged manneqin for this tutorial in Blender.
For those of you who don’t know Blender: It is an allround 3D workhorse software that is free and open source. It’s great and if you want to download it I recommend Blender-Launcher for managing your installs and versions.
The head was modeled with reference to a great head model I found on Sketchfab by VAA
In the process I had to accept the fact that I’m not much of a 3D modeler myself but I was satisfied with how the head looks…heh
I also managed to get some different shapekeys done. These are different vertex formations that are stored and can be blended together.
For shading I used matcaps and baked the result into a texture so the display of the resulting model will be really fast inside of CSP. Matcaps are a form of image based lighting which is really fast in the cycles rendering engine.
With a nice little 3D authoring tool called “Clip Studio Modeller” I could bring in the rigged mannquin from Blender. ( I can’t bring myself to imagine actually modelling in it though…)
The file format had to be .fbx. Fbx is by no means ideal because it is a propreatary format by autodesk but it’s still industry standard for skinned meshes so yeah… that’s how it is. I’d liked to use glTF or glb because it works better with Blender.
Closing words
This is where artists like me have to hack and find some workarounds. I wish I could code my own drawing software but then again I wouldn’t have the time to draw at all ^^
I hope you liked this post. Please check out the tutorial on Tips.Clip-Studio.com and on Youtube to see this technique in action!
Thanks for reading.
Carlo aka. SoulStinger